Configuring your Office 365 Integration
Last updated: April 28, 2026
Overview
BindHQ can be configured to allow login via Microsoft account, enabling secure single sign-on (SSO) and access to associated Outlook email accounts within BindHQ.
Note: Microsoft Entra ID is the new name for Azure Active Directory (Azure AD). All features and functionality remain the same.
Step 1: Register an Application in Microsoft Entra ID
Sign in to the Microsoft Entra Admin Center
https://entra.microsoft.comIn the left-hand menu, navigate to:
Identity → Applications → App registrations
Enterprise View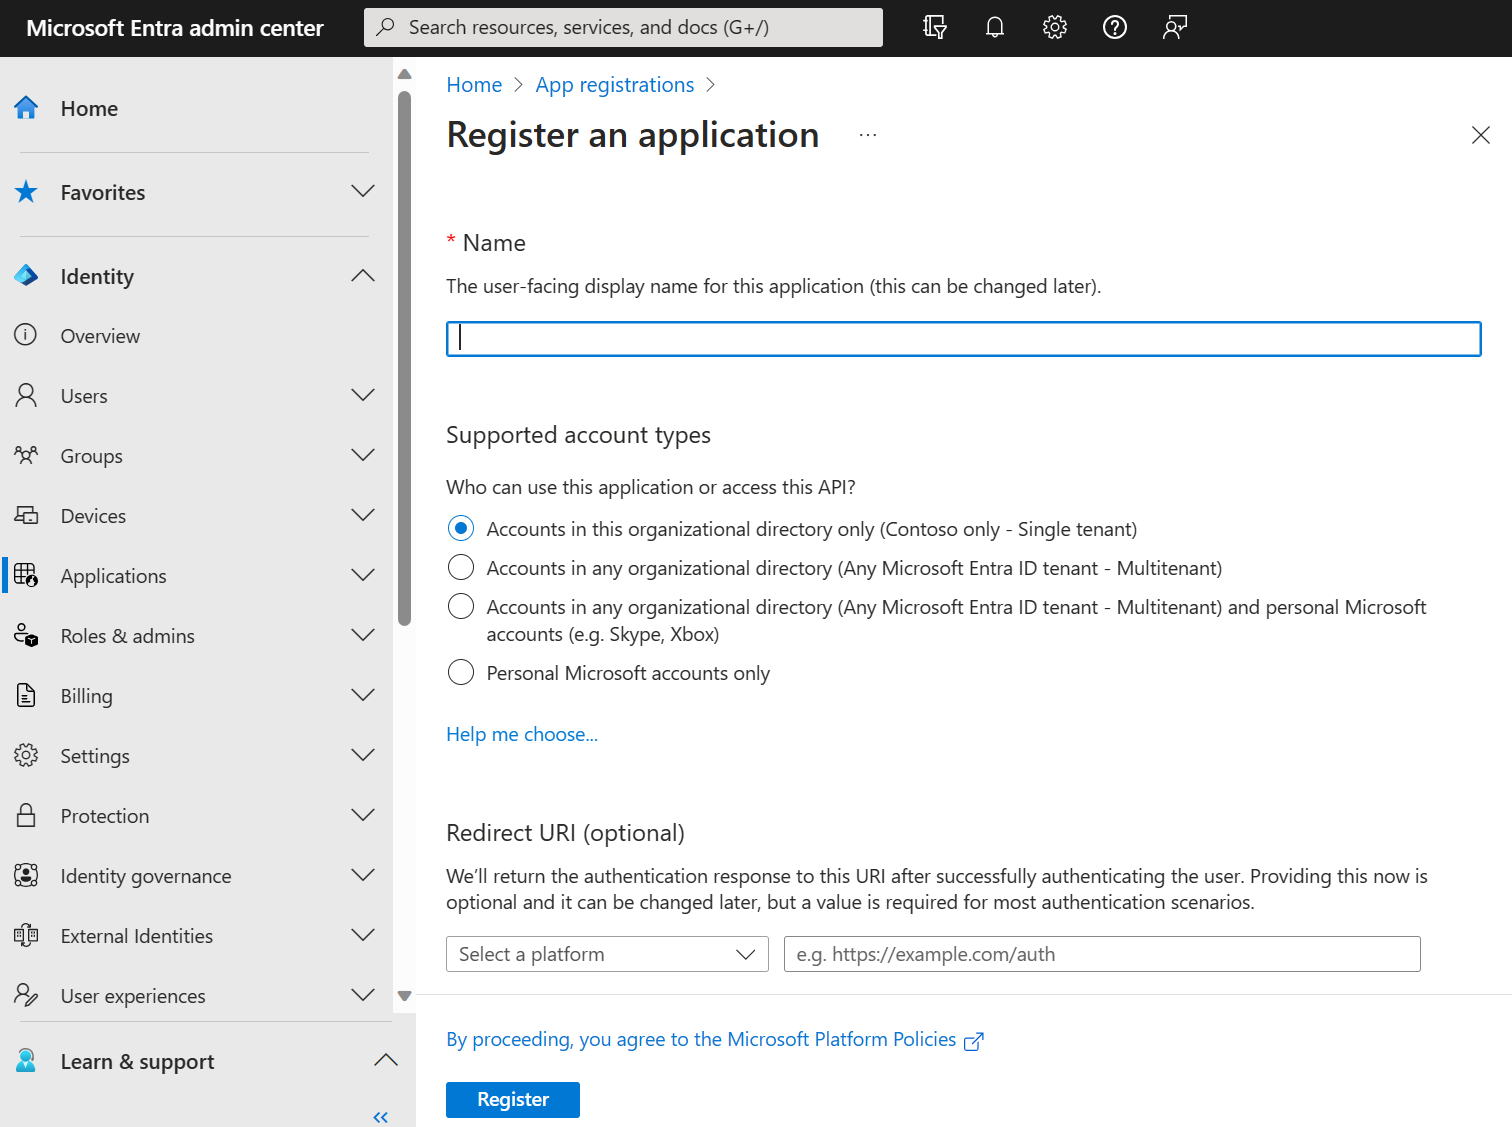
Professional View

Click "New registration" and fill out the registration form:
Name: BindHQ Integration
Supported account types: Choose the option that matches your organization
Redirect URI (Web):
https://CLIENT.bindhq.com/login/check-microsoftReplace
CLIENTwith your BindHQ subdomain.

You may also need to add the following permission to the application, depending on if permission can be granted for the organization by an admin when logging in.
offline_access
openid
email
profile
User.Read
Mail.Send
Mail.ReadWrite
Create authentication secrets for the Client Details.
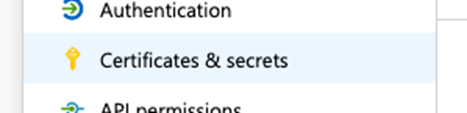
Navigate to “Certificates & secrets”
In the "Client secrets" section choose "New client secret"
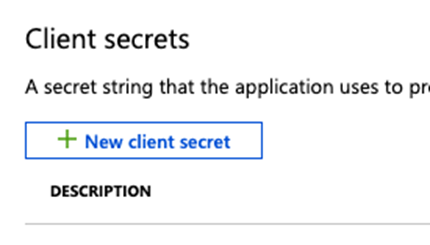
Ensure the name is descriptive enough to be able to identify its purpose. This should be a description that will be familiar to you, (the client), such as "BindHQ Integration".
Copy this secret value to a secure location now, this is the only time it will be visible.
Set an expiration based on your best practices (180 or 365 days) but also set a reminder to update these secrets BEFORE they expire.
BindHQ Details:
With all the required resources created, you can now create/update the BindHQ configuration.
Directory (tenant) ID
Application (client) ID
Secret value
Step 2: Enter Configuration Details into BindHQ
In BindHQ, navigate to the Office 365 Credentials page in the settings area.
Settings > Organization Settings > Office 365 Credentials

Enter the details you generated in the Azure portal.
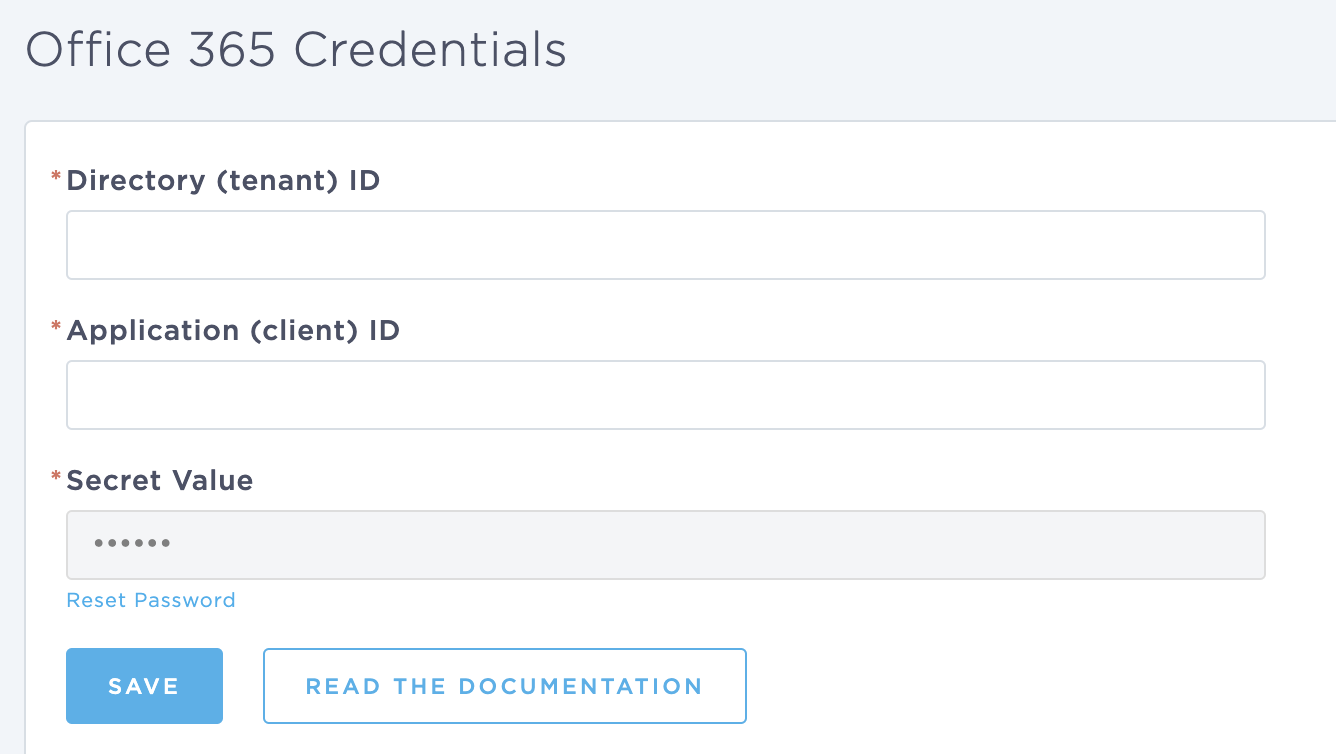
After clicking save, you should be able to log out (or use a different browser) and test the configuration using the "Sign In with Microsoft" button on the login page.
Tips & Best Practices
Redirect URIs must match exactly (case-sensitive, https, no wildcards) learn.microsoft.com+15learn.microsoft.com+15learn.microsoft.com+15learn.microsoft.comlearn.microsoft.com+3learn.microsoft.com+3learn.microsoft.com+3learn.microsoft.com+1mull-overthing.com+1.
You can register multiple redirect URIs (e.g., for development and production) via the Authentication pane learn.microsoft.com+13learn.microsoft.com+13architect.pub+13
For OAuth2/OpenID Connect, always use the Web platform. SAML integrations instead use “Reply URL”.
Always set up a reminder to refresh the configuration before it expires to avoid credential errors that may prevent users from logging into BindHQ.
Keywords
Office365
M365
Entra ID
Integration
Azure Portal