Adding and Managing a Claim
Last updated: July 5, 2025
Applies to:
- Producers
- Assistants
- Compliance
Last Updated: October 2023
The claims section of BindHQ's Policy Administration System is designed to assist in managing and tracking policyholder claims. This intuitive system offers various tools and options to help streamline the claims process. This article will provide a step-by-step guide on how to navigate and use the claims section efficiently. Most customers use a third-party administrator to manage the enter claims lifecycle but BindHQ users can track First notice of loss and high-level claims-related data using this tool.
Accessing the Claims Section
- Log in to your BindHQ account.
- On the left sidebar, select the Policies tab.
- Click on the specific policy for which you want to view or manage claims.
- Finally, click on the Claims tab on that policy to enter the necessary data.
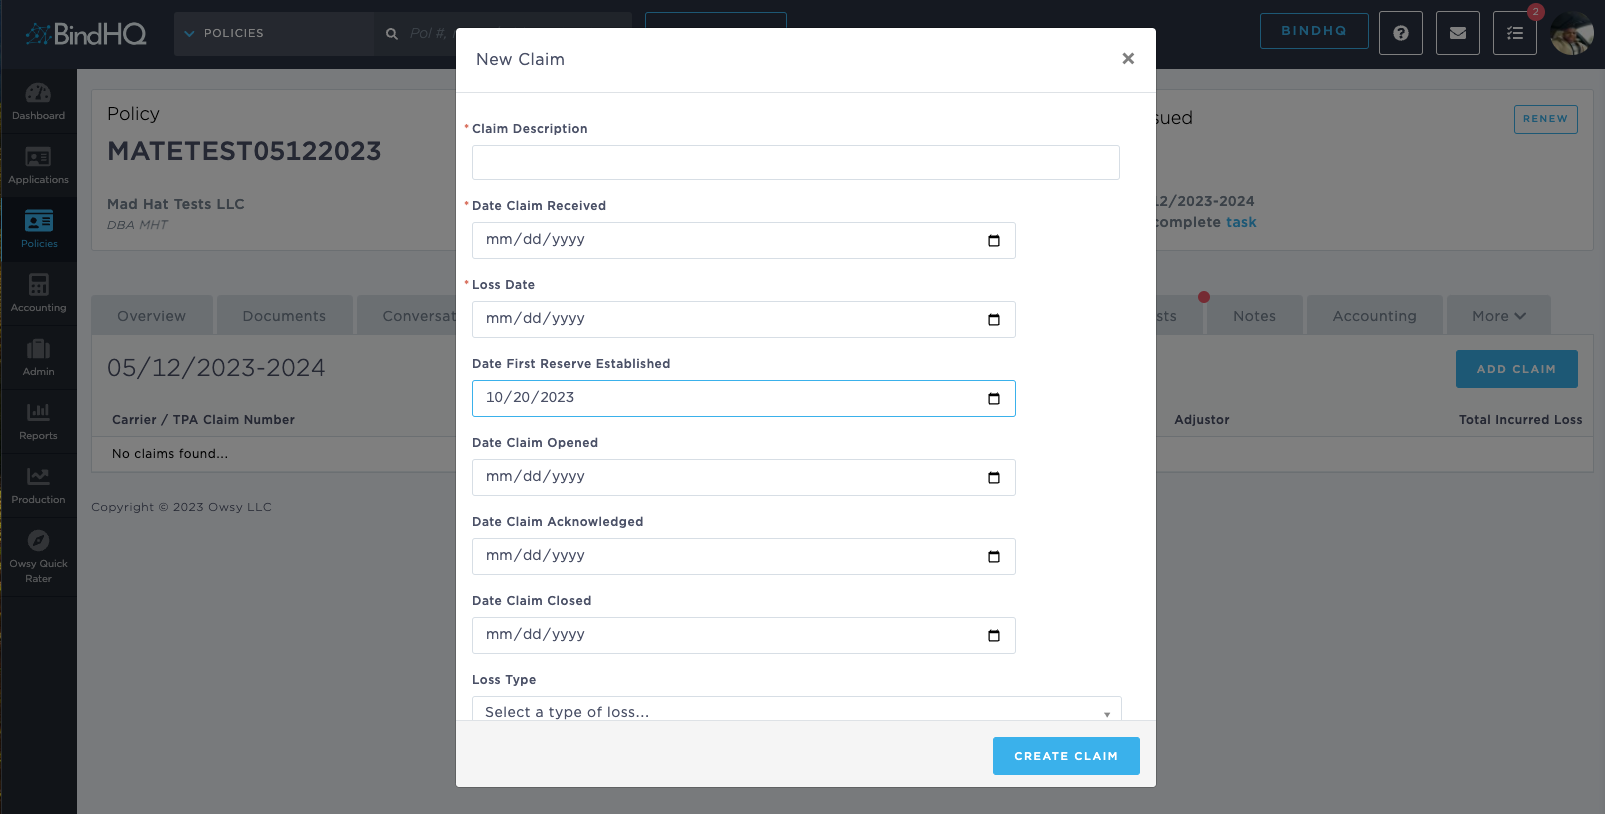
Key Features
- Claim Description: Describe the nature and details of the claim.
- Date Claim Received: Input the date when the claim was officially received.
- Loss Date: The date when the loss incident occurred.
- Date First Reserve Established: The date when the initial reserve amount was set aside for the claim.
- Date Claim Opened: The day the claim was officially opened in the system.
- Date Claim Closed: The day the claim was resolved and officially closed.
- Loss Type: Drop-down menu to specify the type of loss, e.g., fire, theft, liability, etc.
- Adjustor: The name of the adjustor assigned to the claim.
- Total Incurred Loss: The total amount of the claim.
If the LAE breakdown toggle is yes, then you capture the following fields,
- Adjusters Fee Paid
- Adjusters Fee Reserve
- TPA fee paid
- TPA fee Reserve
- Attorney Coverage fee paid
- Attorney Coverage fee Reserve
- Attorney Defense fee paid
- Attorney Defense fee Reserve
Creating a New Claim
- Click on the Add Claim button located at the top right.
- Fill out all the relevant fields on the claim form.
- After ensuring all the information is accurate, click the Create Claim button at the bottom.
Managing and Editing a Claim
- To view a specific claim's details, click on the claim entry.
- If you need to edit any information, make the necessary changes and then click the Save or Update button.
Tips and Best Practices
- Always keep the claim details updated to maintain accurate and timely records.
- Utilize the Notes section to jot down crucial points during the claim processing.
- Regularly review the Accounting tab to ensure that all financial records align with the actual expenses.