Creating and Using Labels
Last updated: September 16, 2026
See below for a quick video detailing how to set up BindHQ labels, apply them to applications and policies, filter using labels and use labels in automations.
Creating and Editing Labels
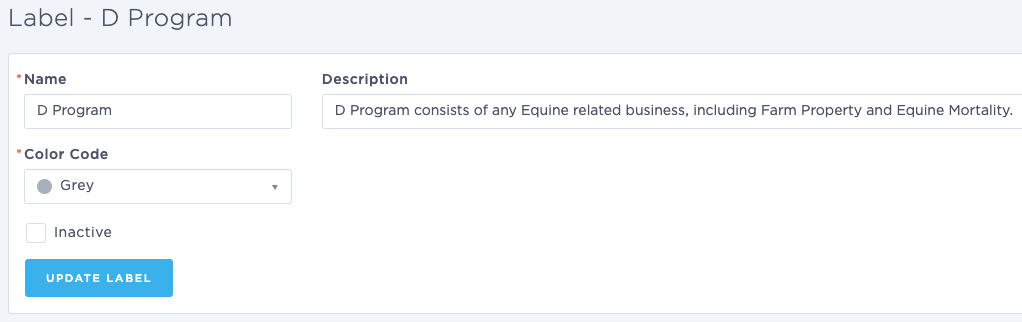
Navigate to Settings > Customization > Labels and click Browse, view & edit labels.
From here you can click New Label to create a new label, or click the name of an existing label to edit.
Complete or update the fields:
Name: This will appear wherever the label is applied.
Description: Optional, and will not be displayed with the label.
Color Code: Choose from the available drop down.
Inactive: Select this box when disabling a label in BindHQ. The label will still appear on applications or policies it was already added to, but will not be available to add to applications or policies in the future.
Using Labels
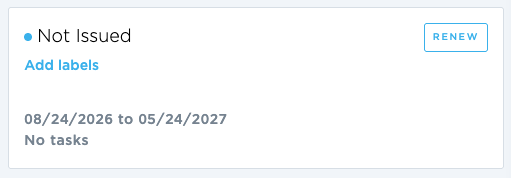
To apply a label, open the application or policy and click Add labels in the upper right.
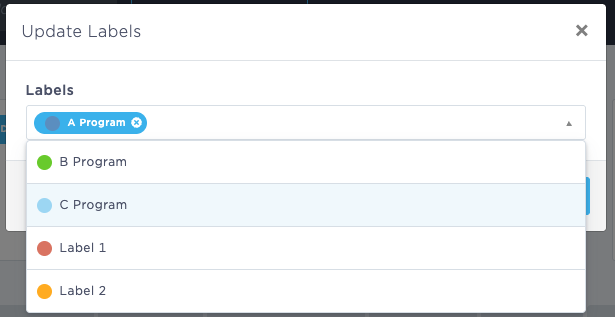
This will open the Update Labels window. Click the drop down to select one or more labels, then click Save.
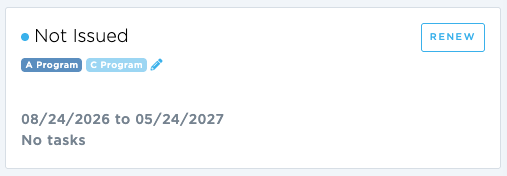
Once labels have been applied, they will appear in the upper right of the policy, and can be edited using the pencil icon.
Sorting and Viewing by Label
Labels will appear on the Application Listing and Policy Listing pages.
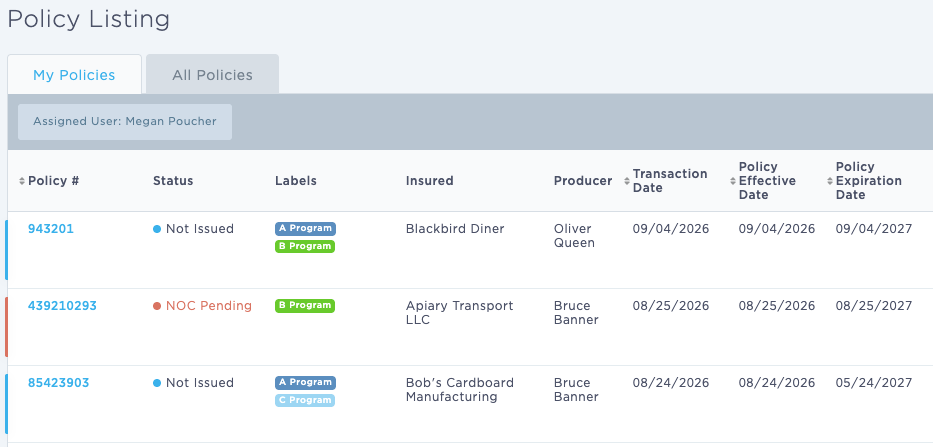
Both Application Listing and Policy Listing can also be filtered by label.
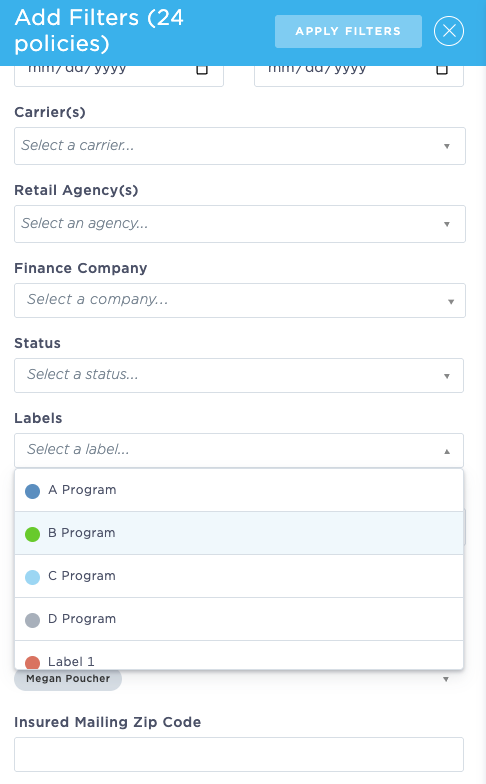
Using Labels in Automations
Admins can also use labels as part of the conditions in an automation.
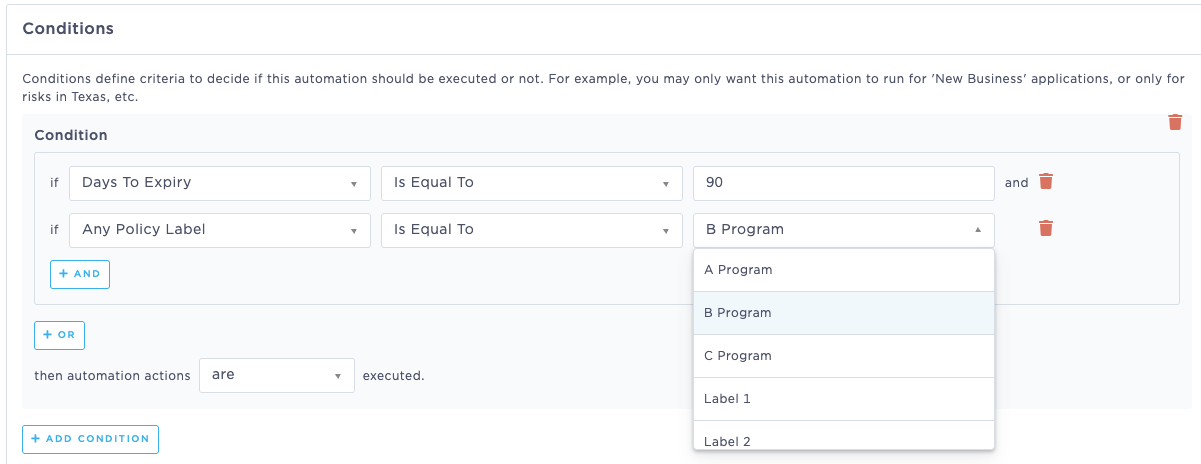
Click here for more information on how to Manage Automations in BindHQ.
Last Update: September 2026