Endorsing a Policy
Last updated: May 26, 2026
This article explains how to endorse a bound policy in BindHQ.
Overview of Endorsements
Endorsements let you amend or cancel policies
You can only add one endorsement at a time; an endorsement must be issued before you can create a new one.
BindHQ supports non-sequential endorsements in case you need to issue endorsements in a non-chronological order (based on the Effective Date).
If this creates a conflict in the system, you may need to invalidate an endorsement and then re-add it.
Policy amendments are made by creating endorsements from the 'Endorsements' tab in the relevant Policy section
Creating an Endorsement
Navigate to a Policy and select the Endorsements tab.
On the left, click New Endorsement on the far right.

Note: Endorsement 0 is auto-generated when the Policy is bound within the platform, but it is not 'issued'. Before creating a new endorsement, you must ensure that you 'issue' the policy Endorsement.
When the Endorsement Summary opens, the Number will auto generate. Select your Endorsement Type from the drop down and complete the description.

Note: The Description text is pulled into the endorsement document.
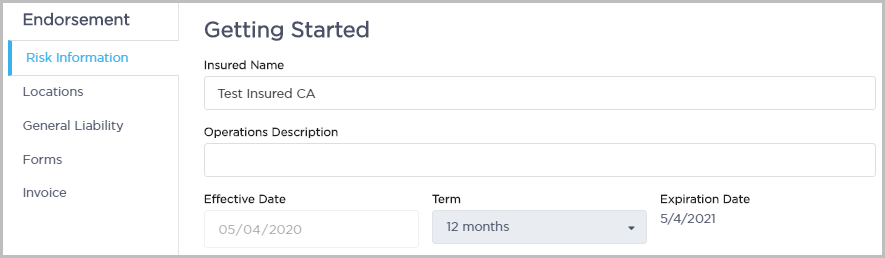
Review the Policy details on each tab of the editor and make updates as needed for the Endorsement.
Note: For return premiums, use a negative sign (-) when entering the Premium and any related taxes or fees.
After finalizing the endorsement details, click Save and Exit on the bottom right.
Once the endorsement has been created, you can choose to Issue or Delete from the Endorsements tab. Clicking Issue will automatically create Invoice and Endorsement Documents.

Please note that once issued, an endorsement cannot be deleted, only invalidated. This will also create any accounting transactions needed (for example, backing out the additional premium generated by an endorsement.)
If needed, navigate to the Documents tab to view the endorsement and invoicing documents.

Last Updated: June 2026