Adding Carriers to BindHQ
Last updated: June 11, 2026
On the left sidebar, select Partners, then select "Markets & Carriers" from the list, and then click "Browse, view & edit carriers".

In the top right corner, click New Carrier.
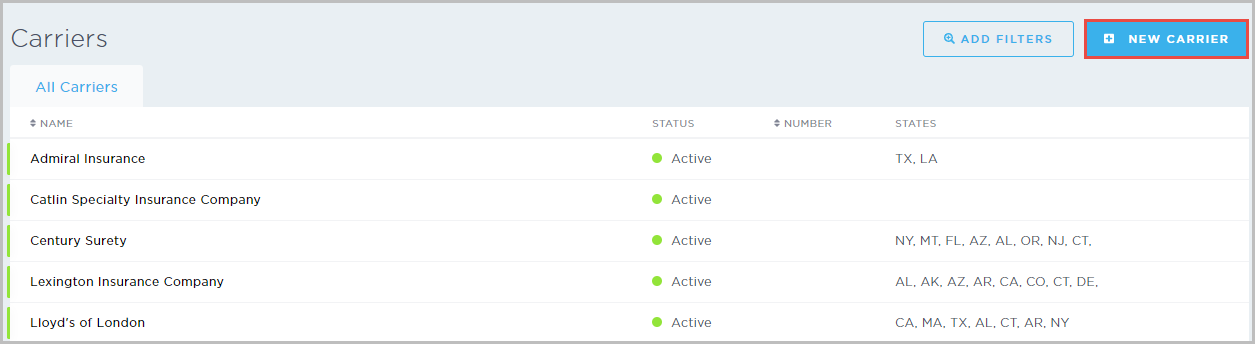
This will bring up the New Carrier window, which includes fields for:
Name
NAIC Number
Company Number
Carrier Accounting Address
Our Code
Notes

Accounting Contact: Fill in the company name and internal company number, NAIC number, address, and any notes unique to the carrier account.

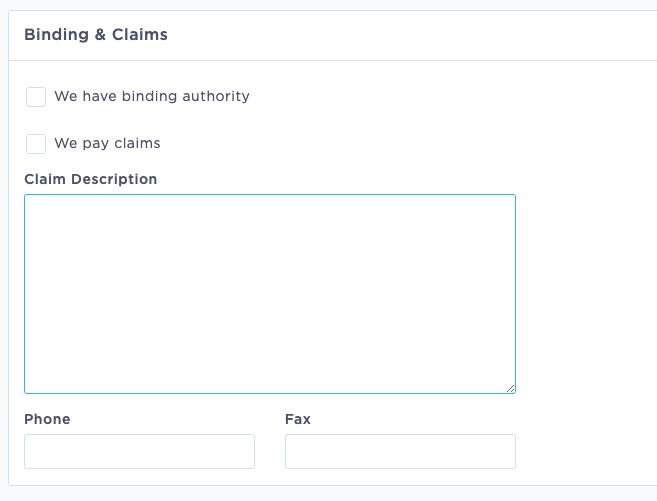
Binding & Claims - Check the We have binding authority or We pay claims checkboxes if applicable, add a claim description, claims phone number and fax number.
Location Address - Fill in the carrier’s physical address. If this is the same as the Accounting address, check the 'Use Accounting Address' checkbox.
Mailing Address - Fill in the carrier’s mailing address. If this is the same as the Accounting address, check the 'Use Accounting Address' checkbox.

General Contact - Enter the company’s general phone/ fax numbers and website.

Payment Terms - Fill in the carrier’s terms and collection deadline. Check the Force agent payment terms? If applicable.

States - States are required to bind coverage and generate taxes and fees. If users try to bind quotes for states the carrier is not configured in, they will receive an error message.
When adding a state, the default is non-admitted (the Admitted checkbox is not checked). Check the checkbox if the carrier is admitted for that state.

System Status - Check the Set carrier to inactive checkbox and enter a reason to make the carrier inactive in the system, and ensure no future work is bound with them.
Once complete, click "Create Carrier"

Once created, you can access additional information for the carrier using the tabs provided:

Last Updated June 2026