ePay Policy Integration
Last updated: November 5, 2025
Introduction
This article explains how to set up and use the ePay Policy integration in BindHQ. The integration allows agencies to securely collect and process premium payments through ePay Policy directly from within BindHQ, streamlining the payment process and improving efficiency. It covers the steps to enable and configure the integration, explains how data and payment information flow between BindHQ and ePay Policy, and outlines how to locate the Retail Agency Integration ID (also known as the ePay Policy Account Number) required to complete setup.
ePay Policy integration walkthrough
MGA, MGU, and Wholesaler accounting teams often spend a significant amount of time managing the premium payment workflow — generating agent statements, sharing them with Retail Agents, monitoring bank accounts to confirm payments, or even processing paper checks. Once payments are received, additional effort is required to create receipts and apply those payments to the corresponding invoices in BindHQ. The BindHQ ePay Policy integration streamlines this entire process by automating many of the manual steps traditionally handled by Accounts Receivable staff, reducing administrative workload and minimizing the potential for human error.
Enabling and configuring the ePay Policy integration
Admins can enable the ePay Policy integration by navigating to Settings from the sidebar, selecting Integrations, and then clicking View & Edit Integration Configuration under ePay.

After turning on the Enabled? toggle, specify the Receipt Source Account and the Receipt Bank Account. These correspond to the bank and general ledger accounts that BindHQ will use when generating automatic receipts.
Receipt Source Account – The bank account where receipts created by ePay Policy will be posted. This can be a specific bank account or Undeposited Funds.
Receipt Bank Account – The receivable account that will be credited when the automatic receipt is created.
Domain – The retail agency’s customer-facing website address (entered without “https://” or any additional paths). This is used to display the correct address on invoices and to link the end user to the payment page.
By default, BindHQ recommends using Undeposited Funds for the Receipt Source Account and the default Accounts Receivable account for the Receipt Bank Account.
Using this configuration means that payments made through the ePay Policy website will credit the Accounts Receivableaccount in near real time, while the corresponding receipts are temporarily held in the Undeposited Funds account. Once ePay Policy transfers the funds—typically within two business days—you can record a batch deposit to move the funds from Undeposited Funds to your Operating Bank Account. For more details on ePay Policy’s funding timelines, visit their FAQ page.
Automatic receipts created by ePay Policy function the same way as manual receipts in BindHQ. The configuration described above determines which Receipt Source Account and Receipt Bank Account are used automatically. Each receipt will be applied to the specific policies selected by the Retail Agent on the ePay Policy website.
The API Key is a secure technical identifier provided by the ePay Policy team and is required to activate the integration. The API URL should match your BindHQ environment URL (for example, https://mymga.bindhq.com).
Both the API Key and API URL are shared across all divisions within your BindHQ account.
Enabling the ePay integration from ePay's side
For the ePay Policy integration to function, an active account must first be created in ePay Policy. To get started, visit https://epaypolicy.com/sign-up-request/.
Initiating the Integration on ePay Policy’s Side
Once the account setup is underway, the ePay Policy Account Manager (AM) will collect the client’s username, password, and credentials for three test accounts (Account Numbers and ZIP Codes). These credentials are used to verify and test the integration.
After gathering the required information, the ePay Policy Account Manager will create a case for the ePay Policy Integrations Team. This team will require the ePay Policy API Key, which can be found in BindHQ under Admin → Advanced Settings → ePay.
Once the API Key is provided, the integrations team will connect it, configure the setup, and perform test transactions to confirm the integration is functioning correctly. When testing is complete, the integrations team will confirm the active status with both the ePay Account Manager and BindHQ.
Finally, the ePay Policy Account Manager will send an email confirming that the integration has been successfully activated and tested.
Enabling the display of ePay policy link on invoices
To display the ePay Policy payment link on invoices, an admin must enable the corresponding setting in BindHQ. Navigate to Settings from the sidebar, select Accounting, and under Accounting Setup, click View & Edit Accounting Configuration. At the bottom of the page, under the Payment section, toggle Show ePay link on documents? (e.g., invoices and agency statements) to the “on” position.
This feature uses the Retail Agency Integration ID (Account Number) and Retail Agency Accounting ZIP Code to generate and display the ePay Policy payment link on invoices, allowing Retail Agents to make payments directly from the document.
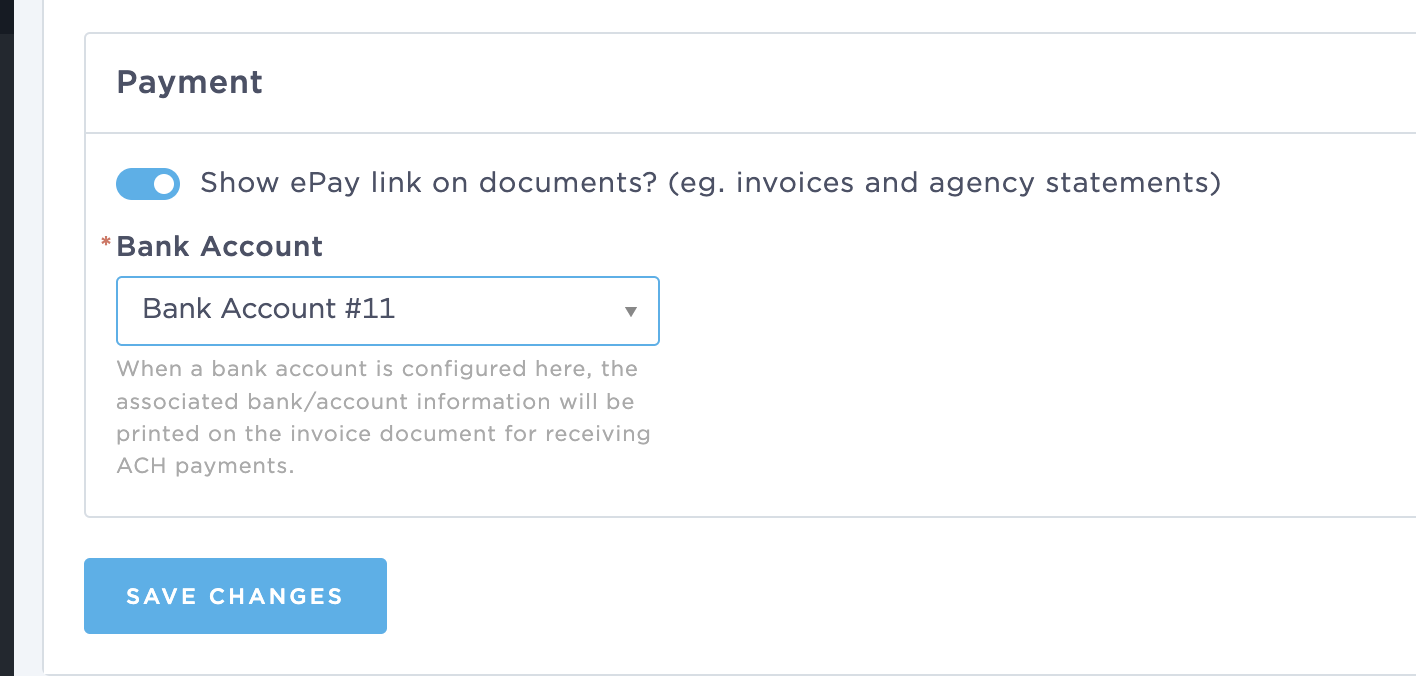
Once this setting is enabled, the payment information will automatically appear on invoices, including a clickable link that pre-fills the necessary details on the ePay Policy website.
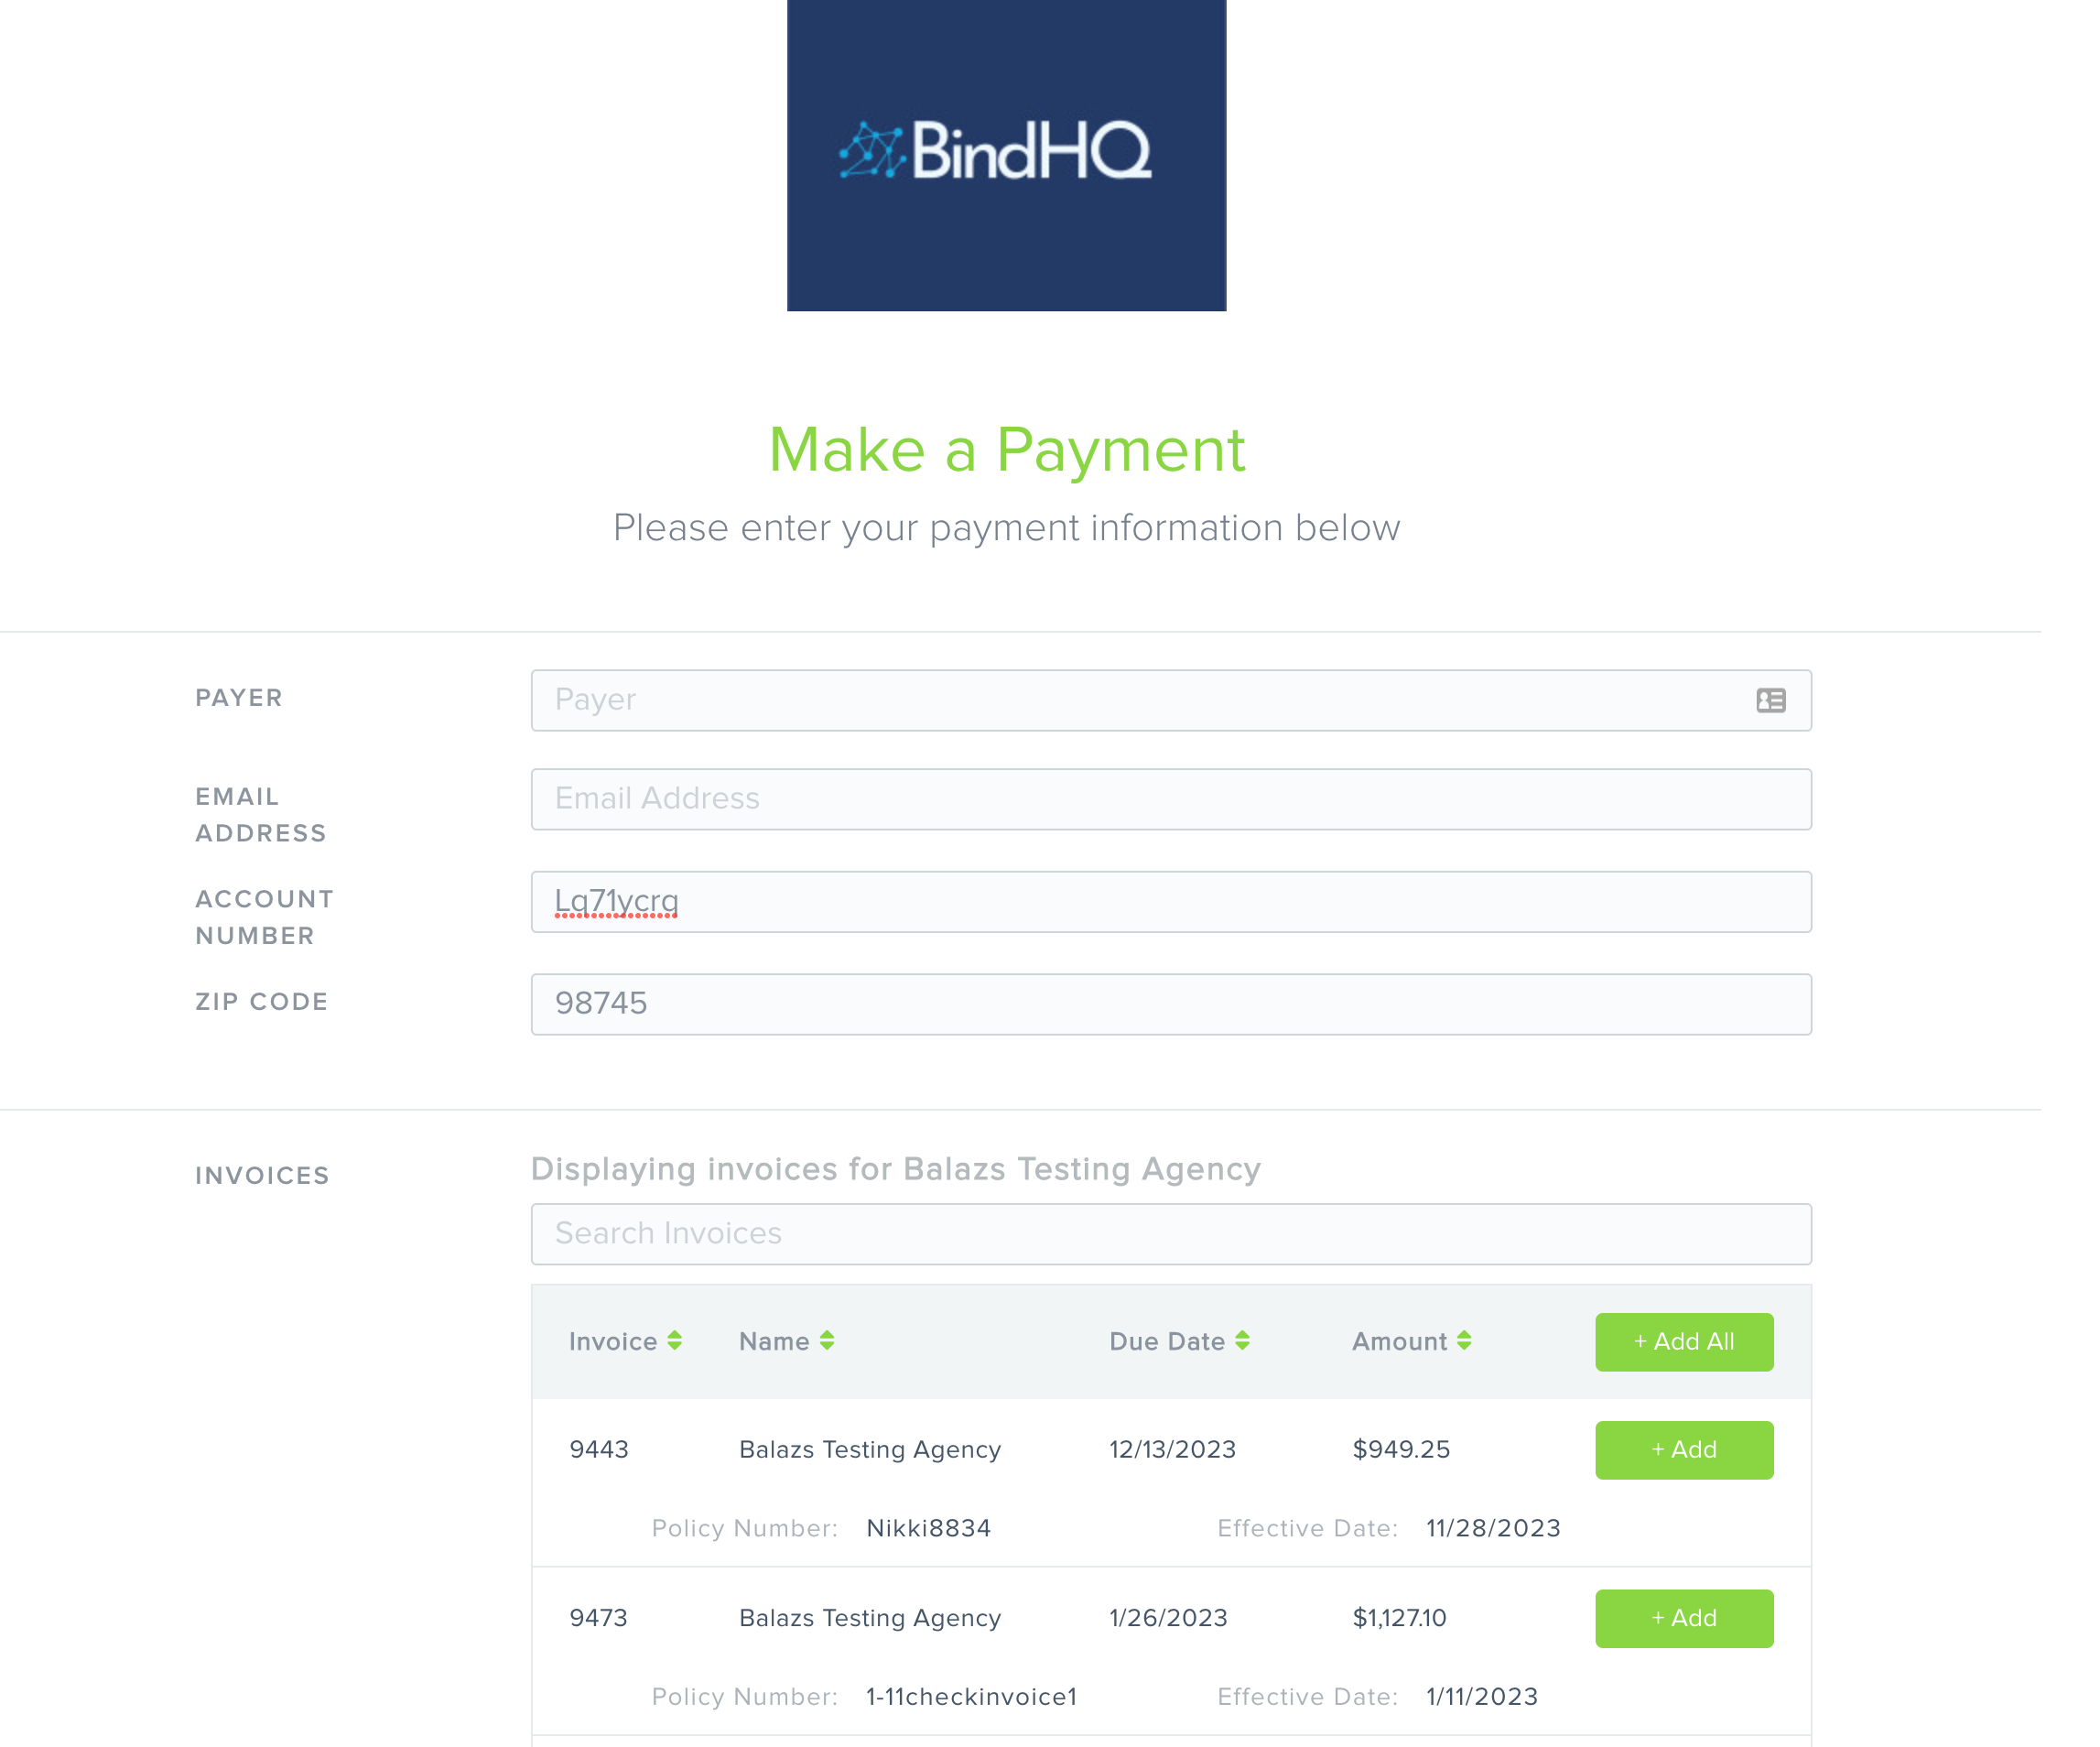
When the link is clicked, the user is directed to the ePay Policy payment portal, where all outstanding invoices associated with the Retail Agency are displayed for quick and easy payment processing.
How does the integration work?
The BindHQ ePay Policy integration allows Retail Agents to pay outstanding invoices quickly and securely, while significantly reducing the administrative workload for MGA accounting teams.
Using their BindHQ Retail Agency Integration ID (Account Number) and Retail Agency Accounting ZIP Code, Retail Agents can access their current balance in real time and review detailed information about each outstanding invoice.
Agents can select the invoices they wish to pay, which automatically adds the corresponding balances to the total payment amount. After choosing a payment method—either Credit Card or ACH—and entering any required details, the user can initiate payment directly through the ePay Policy portal.
Once the payment is completed, funds are transferred to ePay Policy’s bank account. The integration then automatically creates receipts in BindHQ and applies them to the selected invoices. Each receipt includes a unique transaction ID in the memo field, making it easy to reconcile the ePay Policy transfer with the corresponding payment.
For more information about how ePay Policy works, visit https://epaypolicy.com/how-it-works/.
Last Update: November 2025