Using the Create a New Journal Page
Last updated: June 23, 2026
This article explains how to create journal entries in BindHQ. You can create an individual journal entry or use this page to bulk upload journal entries.
Navigate to Accounting on the left side bar, then choose the sub category "Journals"
Click "Create a New Journal".
On the "Create Journal" screen, you'll need to complete the following:
Division (if you only have one division, this should default)
Accounting Posting Date: This defaults to today's date and cannot be amended once the Journal Entry is posted
Memo (optional, but highly recommended)
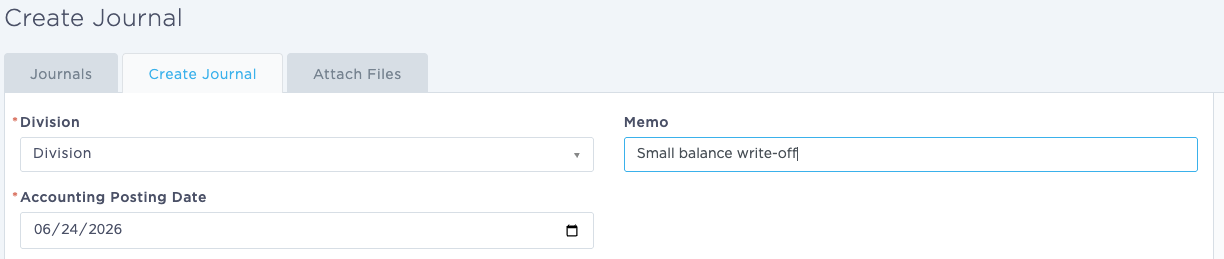
Next, add the itemized details:
Account: Choose the General Ledger item from the Chart of Accounts shown on the drop down.
Customer: Select the customer from the drop down, which includes Insureds, Retail Agencies, Marketing Companies and Suppliers.
Policy: Select the policy this journal entry applies to (if applicable)
Debit & Credit: Complete the debit or credit amount needed for hte journal entry, filling the other in with a zero.
Memo: Optional additional detail about the entry.
Finally, add the corresponding journal entry, i.e. if the first entry was a debit, the second must be a credit and vice versa.
You can do a Bulk Upload of journal entries by clicking on the ‘Import CSV’ button, where you can also download a sample CSV file to guide you.
If you have cost centers enabled, you can also use the cost center codes to prefill the CSV that you upload.
Notes:
There is no limit on the number of uploads you can input using this tool
As this is a double entry system, every journal entry MUST have a corresponding entry, in other words every journal entry really comes as two entries