Creating and Editing Insureds
Last updated: August 4, 2025
Introduction
In BindHQ, managing insured information is simple and flexible. Whether you're starting a new application or updating an existing policy, this guide will walk you through how to add a new named insured or edit the details of an existing one. You'll learn how to ensure insured records are accurate, consistent, and properly linked to policies throughout the system.
Creating a New Insured
Navigate to Partners on the sidebar menu, Insureds & Agents, and click Create New Insured.
Fill in the mandatory and optional fields.
Mandatory fields: Type, Name
Click Save Insured Details
Create a New Insured in Applications
Navigate to Applications on the sidebar menu and click New Application on the right.
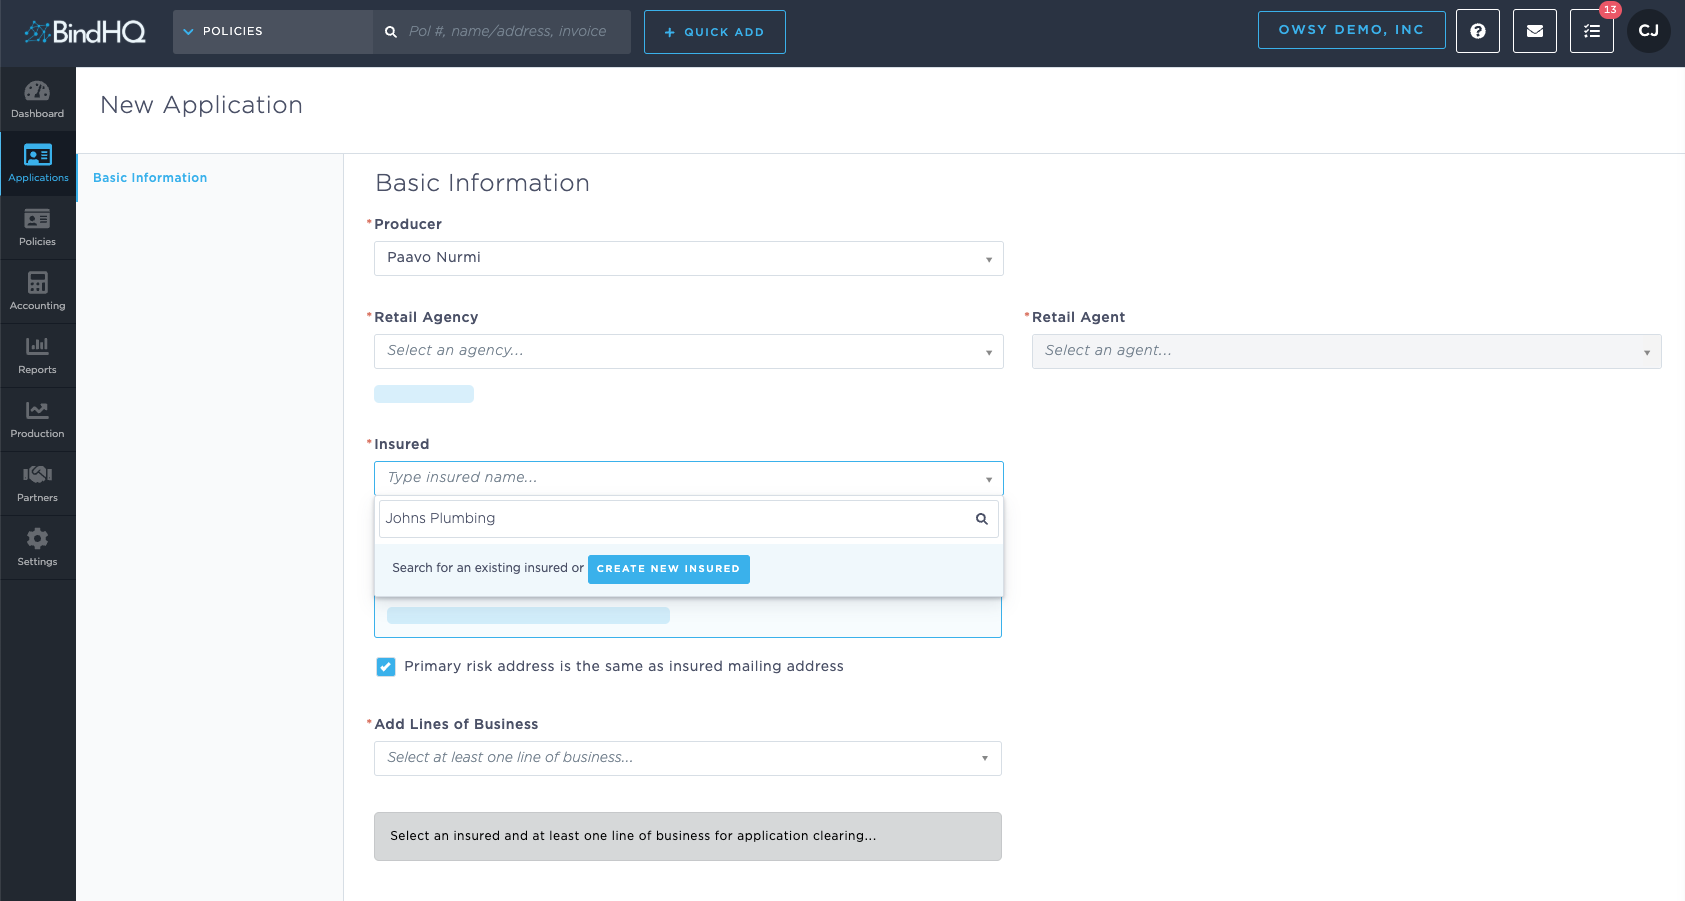
In the Insured field, enter the insured’s name to confirm it’s a new insured.
If the name displays in a drop-down list below the field, the insured is already in BindHQ
3. Click the Blue Create New Insured button to create that Insured.
Note: Once an insured is saved, their information is stored in the system even if the Application is incomplete.
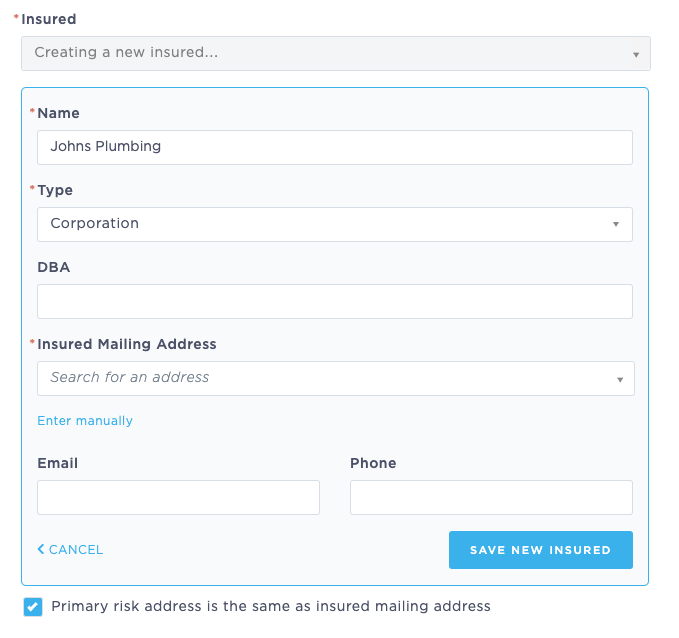
4. Fill in the insured’s details and save.
The Name, Insured Type, and Mailing Address fields are required. The other fields are optional or can be filled in later if needed.
Editing an Insured
Add or update details for an existing named insured.
The insured’s details are accessible through the associated policy.
You can choose one or more active policies to apply the changes to automatically.
An endorsement is automatically generated for the selected policies to reflect that the insured's changes have been processed.
Follow this process:
Navigate to the policy and select the Overview tab.
From the Insured section, click on the Insured Name.
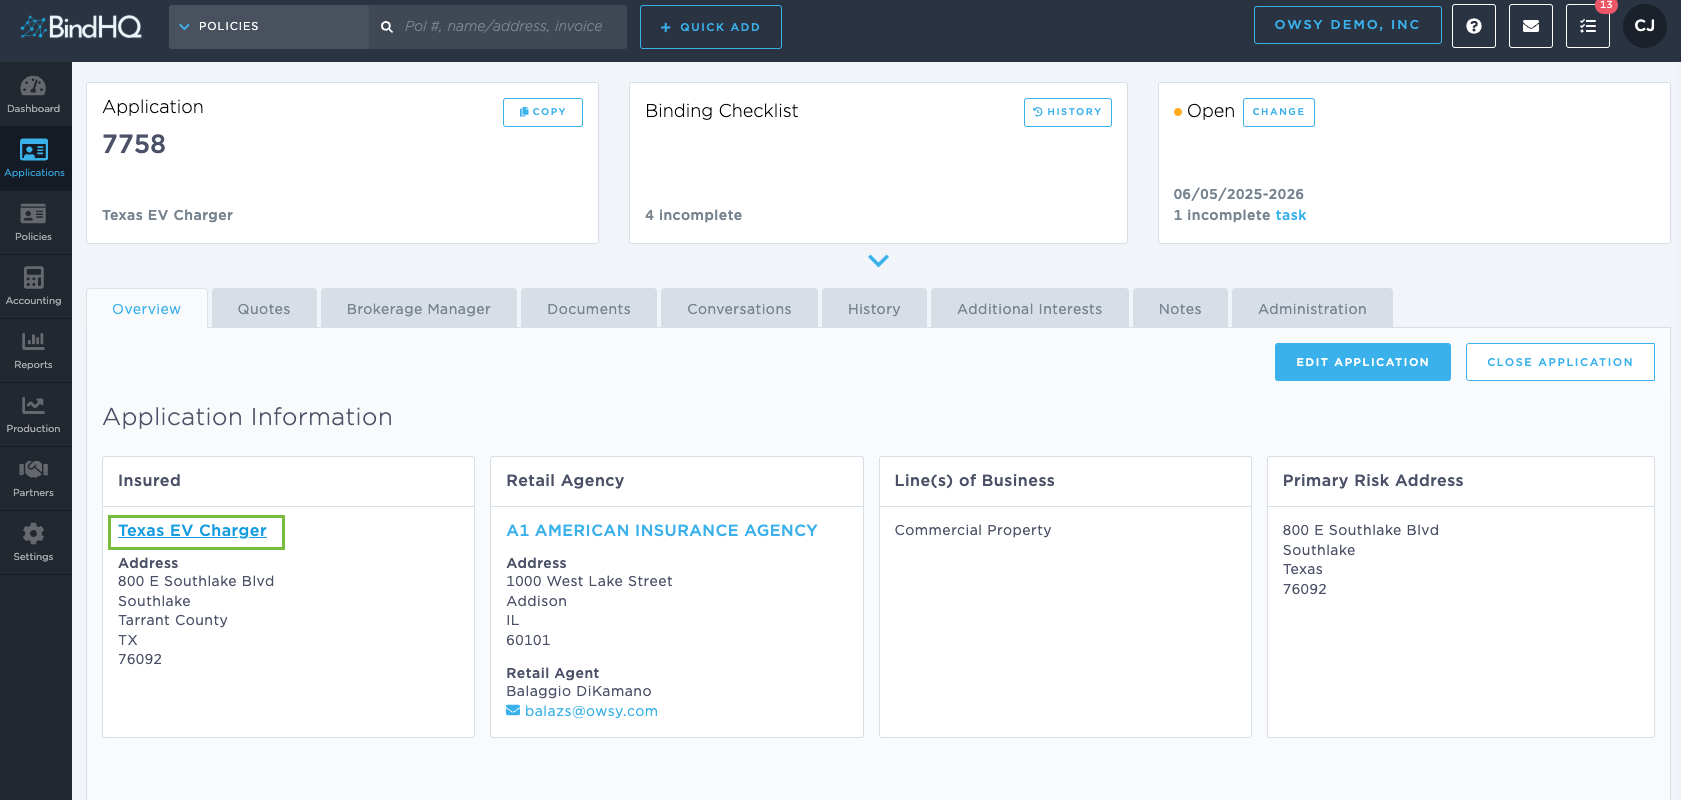
Edit the insured’s details as needed and click Save.
Note: Any changes made to the insured in this view will affect ALL policies associated with the Insured.
Last Update: August 2025